Easy Secrets for Crispy Homemade Corn Tortilla Chips
There’s nothing quite like the satisfying crunch of a perfectly made tortilla chip. While store-bought options can suffice, anyone who has experienced the unparalleled freshness and texture of homemade corn tortilla chips knows there's no going back. Imagine a chip so light, so crisp, it practically melts in your mouth, leaving behind a delightful corn flavor and just the right amount of salt. Making these culinary gems at home isn't as daunting as it sounds, and with a few simple secrets, you can elevate your snack game to an entirely new level. Beyond just a snack, homemade chips are the perfect vehicle for your favorite salsa, guacamole, or nachos, adding a gourmet touch that store-bought simply can’t match. If you've ever wondered why homemade corn tortilla chips are always best, prepare to have your questions answered and your palate delighted.
The journey to truly crispy, golden-brown chips begins with understanding a few fundamental principles. It's not just about tossing tortillas into hot oil; it's about preparation, precision, and a dash of patience. In this comprehensive guide, we'll unveil the easy secrets to achieving that coveted crunch every single time, transforming humble corn tortillas into an irresistible snack that will impress friends, family, and most importantly, your taste buds.
The Foundation: Choosing and Preparing Your Tortillas
The quality of your finished homemade corn tortilla chips is intrinsically linked to the quality of your starting ingredient: the corn tortilla itself. Don't underestimate this crucial first step.
Quality Matters: Opt for Fresh Corn Tortillas
For the best results, always begin with fresh, high-quality corn tortillas. Look for tortillas made with nixtamalized masa (corn treated with slaked lime), as this process enhances flavor, aroma, and nutritional value. Thicker, sturdy tortillas tend to yield more substantial and satisfying chips, less prone to breaking during preparation and cooking. While slightly dried-out tortillas can be a blessing (more on that later), avoid anything that feels brittle or excessively old. Opt for those found in the refrigerated section of your grocery store, ideally from a local Mexican market or bakery, if available. Their freshness translates directly into superior flavor and texture in your final chip. Using tortillas made with only corn, water, and lime (calcium hydroxide) ensures a pure, authentic flavor that shines through once fried.
The Perfect Cut: Triangles or Strips?
The classic tortilla chip shape is a triangle, and for good reason – it’s easy to achieve and provides a good surface area for dipping. To cut perfect triangles, stack about 5-6 tortillas at a time. Using a sharp knife or a pizza cutter, cut the stack in half, then cut each half into three or four wedges, depending on your desired chip size. For larger, sturdier chips, aim for three wedges per half-tortilla. For smaller, more delicate chips, go for four. Alternatively, you can cut tortillas into strips or even squares for a different aesthetic. The key here is uniformity. Chips of similar size and thickness will cook more evenly, preventing some from burning while others remain undercooked. This consistency is vital for achieving a uniformly crispy batch of homemade corn tortilla chips.
The Secret Weapon: Drying for Unbeatable Crispiness
This is arguably the most overlooked and yet most critical step for achieving truly superior, shatteringly crispy homemade corn tortilla chips. Do not skip it!
Why Drying is Crucial for Homemade Corn Tortilla Chips
Fresh corn tortillas contain a significant amount of moisture. When this moisture hits hot oil, it creates steam, which can lead to chewy, soggy, or inconsistently crispy chips. By gently drying the tortillas before frying or baking, you remove much of this surface moisture. This allows the chips to cook more evenly, become crispier faster, and absorb less oil, resulting in a lighter, crunchier, and less greasy final product. Think of it as pre-conditioning the tortillas for maximum crunch potential.
Effective Drying Methods
There are several ways to effectively dry your cut tortilla pieces:
- Air Drying (The Easiest): Lay the cut tortilla pieces in a single layer on baking sheets or a clean kitchen counter. Let them air dry for anywhere from 30 minutes to several hours, or even overnight, flipping them occasionally. The longer they dry (within reason), the crispier your chips will be. You'll notice they become slightly stiff and less pliable.
- Oven Drying (Faster Option): Preheat your oven to its lowest setting (usually 170-200°F / 75-95°C). Spread the tortilla pieces in a single layer on baking sheets. Bake for 10-15 minutes, or until they feel dry and firm but not yet browned. Keep a close eye on them to prevent browning.
- Microwave Drying (Quickest for Small Batches): For a small batch, place a single layer of tortilla pieces on a microwave-safe plate. Microwave on high for 30-60 seconds, checking every 15 seconds. They should feel dry and stiff. This method is best for small quantities as overcrowding leads to uneven drying.
Whichever method you choose, the goal is to make the tortillas feel noticeably drier and stiffer than when you started. This seemingly small step makes a monumental difference in the crispness of your final homemade corn tortilla chips.
Mastering the Cook: Frying or Baking for Ultimate Crunch
Once your tortillas are perfectly cut and dried, it's time to transform them into golden, crunchy perfection. While both frying and baking have their merits, one consistently delivers superior crispness.
Frying for Superior Crispness
For truly authentic, restaurant-quality crispy homemade corn tortilla chips, frying is the method of choice. The rapid, high-heat cooking in oil creates that signature light, airy, and shatteringly crisp texture. The type of oil matters: neutral oils with a high smoke point like canola, vegetable, grapeseed, or peanut oil are ideal. The temperature of your oil is absolutely critical; too low, and your chips will be greasy and soggy; too high, and they'll burn before they crisp up. Aim for a consistent temperature of 350-375°F (175-190°C). Fry in small batches to avoid overcrowding the pan, which can lower the oil temperature and lead to uneven cooking. Cook for 1-3 minutes per batch, flipping once, until they are golden brown and bubbling. Immediately transfer them to a wire rack lined with paper towels to drain excess oil. For a deep dive into achieving the perfect fry, be sure to check out our detailed guide on How to Fry Perfect Crispy Homemade Tortilla Chips.
Baking for a Lighter Option (and how to make them crispy)
If you're looking for a healthier alternative or prefer to avoid deep-frying, baking can still yield delicious, albeit slightly less crisp, homemade corn tortilla chips. To maximize crispness when baking:
- Preheat your oven to 375-400°F (190-200°C).
- Lightly brush or spray both sides of the dried tortilla pieces with a neutral oil. This helps with crisping and seasoning adhesion.
- Arrange them in a single layer on baking sheets, ensuring no overlap.
- Bake for 10-15 minutes, flipping them halfway through, until they are golden brown and firm. Keep a close watch as baking times can vary greatly.
While baked chips may not achieve the exact same delicate crispness as their fried counterparts, following these steps will get you very close to a satisfying crunch without the extra oil.
The Finishing Touches: Salting and Flavoring Your Chips
Once your chips are cooked to perfection, the final step is to season them properly. This is where you can truly make your homemade corn tortilla chips shine.
When to Salt for Best Adhesion
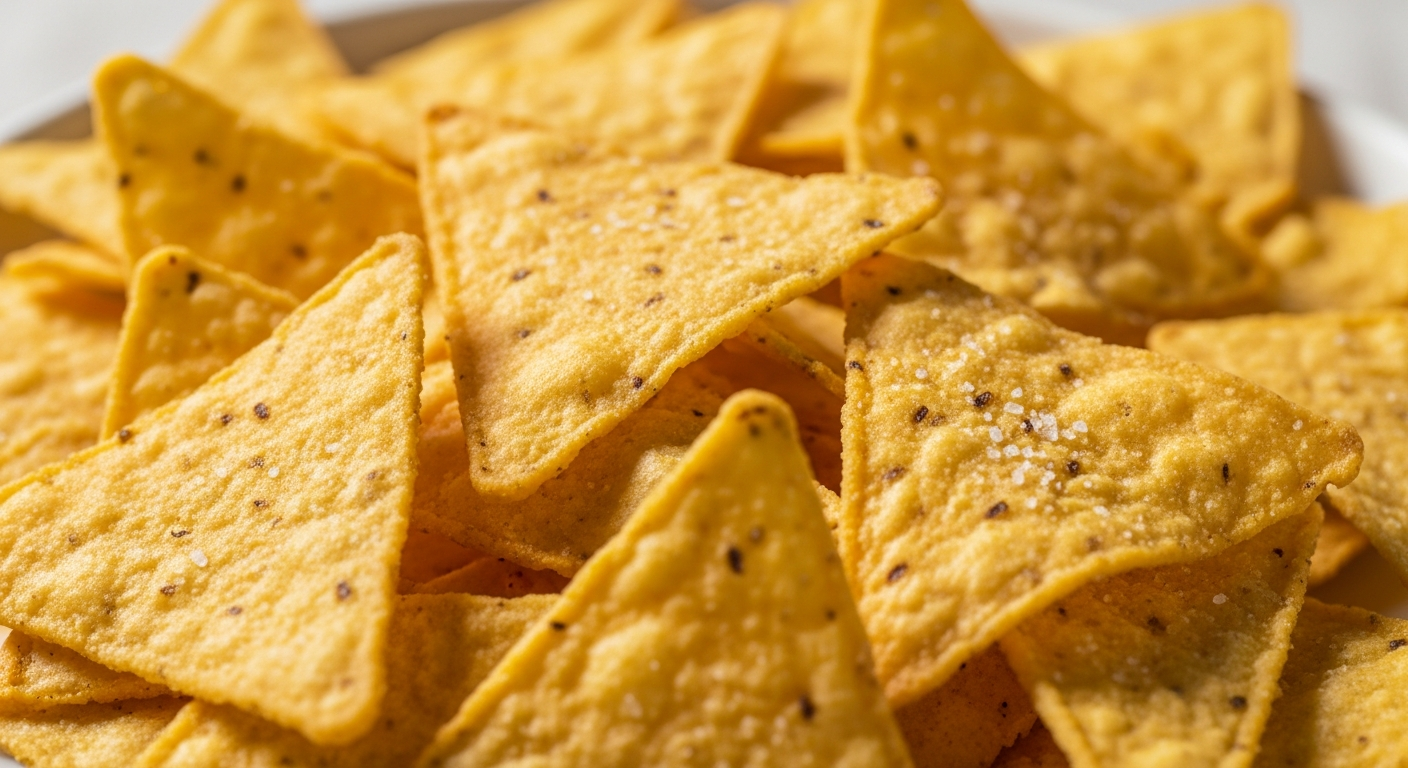
The secret to perfectly seasoned chips is to salt them immediately after they come out of the oil or oven, while they are still hot. The residual oil or heat allows the salt to adhere beautifully. Use a fine-grained salt, such as sea salt or kosher salt, for even distribution and a pleasant texture. A coarse salt might provide a burst of saltiness, but a finer salt ensures every bite is seasoned just right. Transfer the hot chips to a large bowl, sprinkle generously with salt, and toss gently to coat evenly. Taste and adjust as needed.
Beyond Salt: Creative Flavor Boosts
While classic salted chips are undeniably delicious, don't be afraid to experiment with other seasonings to create unique flavor profiles for your crispy homemade corn tortilla chips:
- Spicy: Add a pinch of chili powder, smoked paprika, or cayenne pepper to your salt mixture.
- Tangy: A sprinkle of lime zest or a dash of citric acid powder can add a bright, zesty kick.
- Savory: Garlic powder, onion powder, or a blend of dried herbs like oregano can elevate the flavor.
- Mexican-Inspired: Try a blend of cumin, coriander, and a touch of ancho chili powder.
Mix your desired seasonings with the fine salt before sprinkling them over the hot chips for the best results. The possibilities are endless, allowing you to customize your homemade corn tortilla chips for any occasion or craving.
Troubleshooting & Storage for Your Crispy Creations
Even with the best intentions, things can sometimes go awry. Here’s how to avoid common pitfalls and keep your chips at their peak crispness.
Common Pitfalls and How to Avoid Them
- Soggy Chips: This is almost always due to insufficient drying of the tortillas or frying in oil that isn't hot enough. Ensure your tortillas are stiff before cooking, and maintain the correct oil temperature (350-375°F / 175-190°C). Overcrowding the pan can also drop the oil temperature, so fry in small batches.
- Burnt Chips: Oil that's too hot or leaving the chips in for too long will lead to burning. Keep a close eye on the temperature and the chips themselves – they go from perfectly golden to burnt quickly.
- Uneven Cooking: Resulting from inconsistent cutting or overcrowding. Aim for uniform pieces and give them space in the pan or on the baking sheet.
Keeping Your Chips Crispy
Once your homemade corn tortilla chips have cooled completely, store them in an airtight container at room temperature. Exposure to air is their enemy, quickly leading to staleness and loss of crispness. They typically stay fresh and crispy for 3-5 days. If they do start to lose their crunch, you can often revive them by spreading them on a baking sheet and toasting them in a 300°F (150°C) oven for 5-10 minutes, or until crisp again. Let them cool completely before serving.
Making crispy homemade corn tortilla chips is a rewarding culinary endeavor that brings unparalleled freshness and flavor to your table. By focusing on quality tortillas, mastering the crucial drying step, controlling your cooking method, and seasoning thoughtfully, you unlock the secrets to a snack that truly stands apart. From the satisfying snap to the pure corn taste, these chips are more than just a side – they're an experience. So, gather your ingredients, embrace these easy secrets, and prepare to delight in the ultimate crunch. Your homemade chips will not only be a testament to your culinary prowess but a go-to treat that elevates every dip and dish they accompany.
