Unlock the Secret to Perfect Crispy Homemade Tortilla Chips
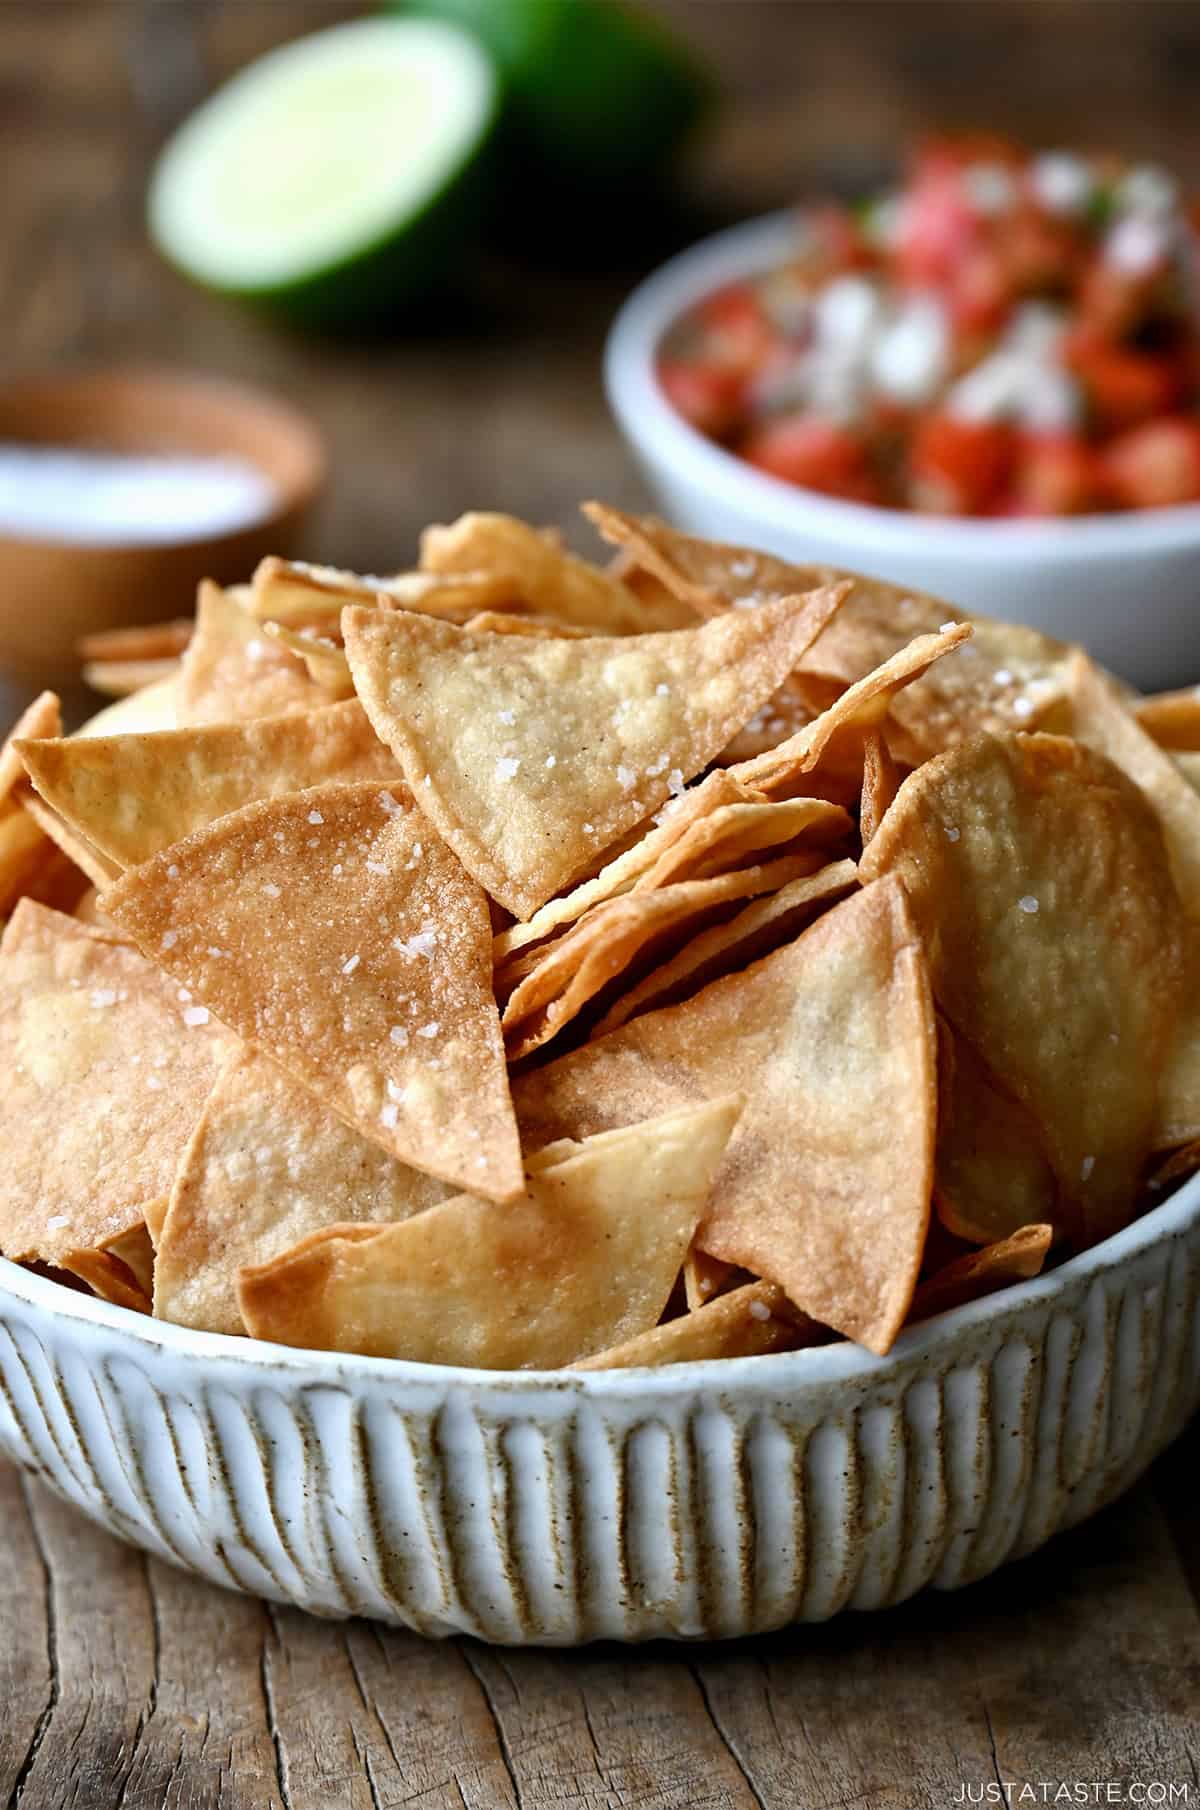
There's a special kind of satisfaction that comes from dipping a perfectly crisp tortilla chip into your favorite salsa or guacamole. But imagine if that chip wasn't from a bag, but one you made yourself, fresh, warm, and imbued with an unbeatable crunch. Making homemade corn tortilla chips might sound intimidating, but it's a remarkably simple process that yields a superior product every single time. Forget the greasy, overly salty, or brittle store-bought versions; with a little know-how, you can achieve golden, airy, and incredibly flavorful chips right in your own kitchen. This comprehensive guide will walk you through every step, ensuring your homemade chips are nothing short of perfection.Why Homemade Chips Are Always Best: The Foundation of Flavor
Before we even get to the frying, let's talk about why embracing the homemade route is a game-changer. Freshly fried chips offer a depth of flavor and a textural experience that mass-produced alternatives simply cannot match. You have complete control over the oil, the salt, and most importantly, the quality of the corn tortillas themselves. This control means a cleaner taste, a fresher crunch, and the absence of preservatives or questionable ingredients. In fact, there's so much to say about their superiority that we've dedicated a whole article to it: Why Homemade Corn Tortilla Chips Are Always Best. The journey to perfect homemade corn tortilla chips begins with choosing the right base. Opt for good quality, thin corn tortillas. While fresh tortillas work, slightly stale ones (a day or two old) can actually be ideal as they contain less moisture, leading to quicker crisping and less oil absorption. Avoid flour tortillas for this purpose; their different composition won't give you that signature corn chip crunch.Gathering Your Arsenal: Essential Ingredients & Equipment
Successful frying hinges on having the right tools and ingredients. Don't worry, you won't need anything exotic, just a few kitchen staples.Essential Ingredients:
- Corn Tortillas: As mentioned, thin, good-quality corn tortillas are key. You can find them in most grocery stores, often in the refrigerated section or international aisle. A standard pack of 12-24 tortillas will yield a generous batch of chips.
- High Smoke Point Oil: Choose an oil that can withstand high temperatures without breaking down or imparting off-flavors. Excellent choices include canola oil, vegetable oil, peanut oil, grapeseed oil, or sunflower oil. Avoid olive oil, which has a lower smoke point and a strong flavor.
- Fine Salt: Fine-grained salt (like fine sea salt or kosher salt) adheres best to hot chips. You'll want to season immediately after frying.
- Optional Seasonings: For an extra kick, consider adding chili powder, garlic powder, onion powder, or a squeeze of lime juice after salting.
Essential Equipment:
- Large, Heavy-Bottomed Pot or Dutch Oven: This is crucial for maintaining consistent oil temperature and preventing scorching. Its heavy construction distributes heat evenly.
- Deep-Fry Thermometer (or Candy Thermometer): Absolutely non-negotiable! This is the secret weapon for consistent results. Guessing oil temperature leads to either soggy, greasy chips or burnt ones.
- Slotted Spoon or Spider Skimmer: For safely adding and removing chips from the hot oil.
- Wire Rack and Baking Sheet: Placing fried chips on a wire rack allows air to circulate, keeping them crisp as they cool and preventing them from getting soggy from residual oil. The baking sheet underneath catches drips.
- Paper Towels: For blotting excess oil, though the wire rack is your primary draining method.
- Sharp Knife or Pizza Cutter: For efficiently cutting your tortillas into uniform wedges.
The Art of Frying: Step-by-Step to Crispy Perfection
Now for the main event – the frying process itself. Precision and attention to detail will ensure your homemade corn tortilla chips achieve that coveted crispiness.Step 1: Prep Your Tortillas for Frying
Stack 4-6 tortillas on top of each other. Using a sharp knife or pizza cutter, cut the stack in half, then into quarters, and finally into eighths, creating even wedges. The goal is uniform size for even cooking. Once cut, you can separate them and spread them out on a clean counter or baking sheet for 10-15 minutes to air dry slightly. This small step helps reduce moisture, making them crispier faster.
Step 2: Heat the Oil to the Right Temperature
Pour 2-3 inches of your chosen high smoke point oil into your heavy-bottomed pot. Attach your deep-fry thermometer to the side of the pot, ensuring the tip is submerged but not touching the bottom. Heat the oil over medium-high heat until it reaches 350-375°F (175-190°C). This temperature range is critical: too low, and your chips will absorb too much oil and be greasy; too high, and they'll burn before they crisp up properly.
Step 3: Fry in Batches for Optimal Crispiness
Once your oil is at temperature, carefully add a single layer of tortilla wedges to the pot. Do not overcrowd the pot! Overcrowding drops the oil temperature drastically, leading to soggy, poorly cooked chips. Fry for 2-4 minutes, turning occasionally with your slotted spoon or spider skimmer, until the chips are light golden brown and feel firm when lifted. You'll notice the bubbling around the chips will subside as they cook and dry out. Remember, they will darken slightly after you remove them from the oil.
For even more granular advice on getting that perfect crunch, be sure to read our dedicated guide: Easy Secrets for Crispy Homemade Corn Tortilla Chips.
Step 4: Drain and Season Immediately
Using your slotted spoon or spider skimmer, lift the chips out of the oil, allowing any excess oil to drip back into the pot. Immediately transfer the hot chips to the wire rack set over a baking sheet. While they are still piping hot, generously sprinkle them with fine salt. The heat helps the salt adhere perfectly. You can gently toss them on the rack or in a bowl to ensure even seasoning.
Step 5: Repeat and Enjoy
Continue frying in batches, making sure to monitor and adjust the oil temperature between batches to keep it within the 350-375°F range. Use your slotted spoon to remove any small crumbs or burnt bits from the oil between batches, as these can affect the flavor and appearance of subsequent chips. Allow the chips to cool completely on the wire rack before storing, or simply serve them warm and fresh for an unforgettable snack!
Troubleshooting Common Frying Mishaps
Even with the best instructions, things can sometimes go awry. Here are common issues and how to fix them when making your own homemade corn tortilla chips:- Soggy or Greasy Chips: This is almost always a sign that your oil temperature was too low, or you overcrowded the pot. Ensure your oil is consistently between 350-375°F, and fry in small batches. Also, make sure to drain them thoroughly on a wire rack.
- Burnt Chips: The oil was too hot, or you left them in too long. Keep a close eye on your thermometer and the chips themselves. Remember, they continue to cook slightly after removal.
- Unevenly Cooked Chips: This often results from unevenly cut tortillas or not stirring them enough during frying. Try to cut your wedges as uniformly as possible and give them a good stir in the oil.
- Lack of Flavor: Did you salt them immediately while they were hot? Salt adheres best when the surface is still slightly oily and hot. You might also need more salt than you think!
